Showing posts with label Online Card Classes. Show all posts

Friday, July 31, 2015

Backgrounds, Backgrounds, and More Backgrounds!

Hi, everyone!

Welcome to the very last post here at Cards by Sybrina. Tomorrow will find me blogging away at Chapter Three.

A couple of folks have asked why I'm changing up things. Well, this blog has been dedicated to card making, primarily card making for Operation Write Home. Now that I've retired, I've found that I'm expanding my interests. So, I'd like a blog that reflects more than card making.

That said, my very first post will be about a card. LOL! Hope to see you at Chapter Three tomorrow.  :)


Now for the backgrounds that I made for the Day 4 of the Background Online Card Classes.
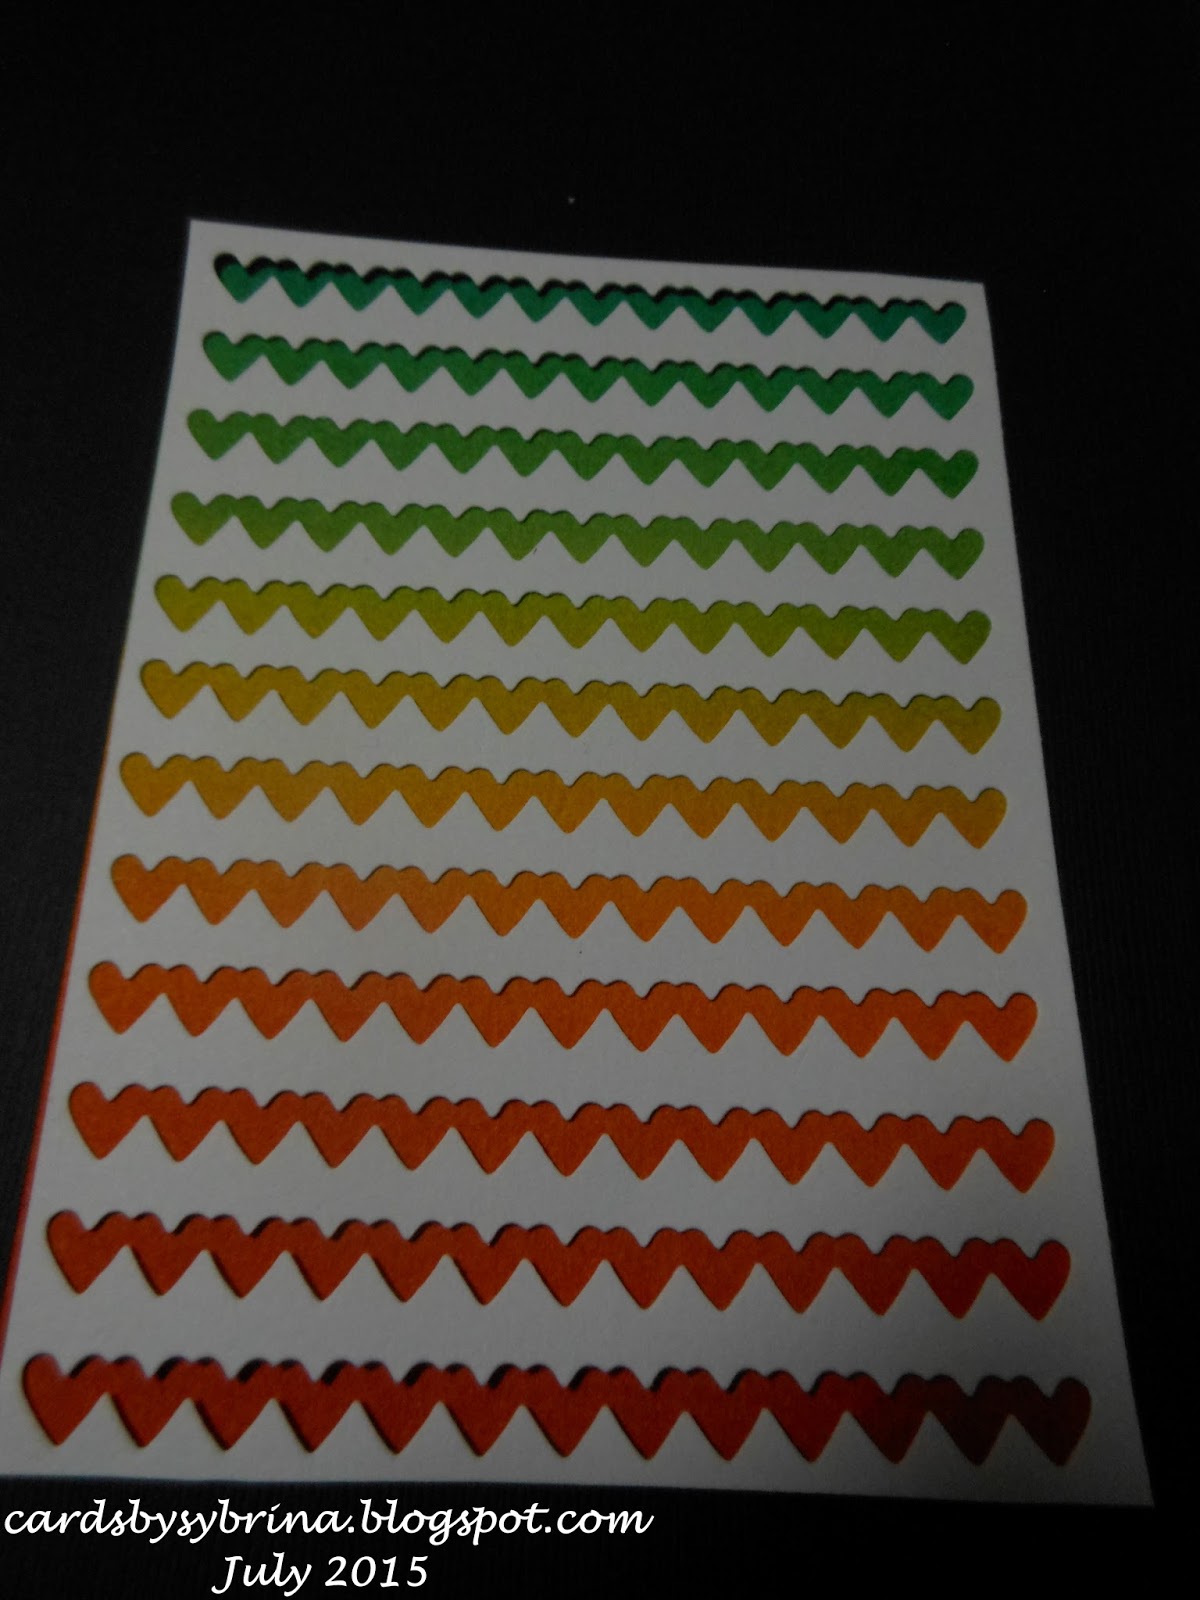
  • I used a Paper Smooches die to create the template/stencil shown below.
  • Replacing the cutout strips gives a nice tone-on-tone effect. But, I'm not committing yet.  :)
  • Next, I inked up a Distress-Ink-rainbow background...
  • Placing the inked up paper behind the template/stencil is so... colorful! Thinking this might make for a great kiddie card.
  • I used Paper Smooches wave dies to try out one of Kristina's techniques. Thinking that I might need to angle some of the top cuts. And, I am going to play with the color of the next-to-the-top wave strip. (Something's not quite right, but can't put my finger on it.) Still waiting to adhere the wave layers -- waiting to see what Kristina has in mind to turn this into a card. May want to stay with just one layer of dimensionals.
  • Finally, I tried some tone-on-tone lettering. Depending on how this is used for a card, I may go with smaller letters and run the card horizontally. Still hedging my bets on this one, too.  :)


Parting Thoughts

Hoping to get caught up with Day 5 lessons tomorrow.

Our Words 2 Scrap By August Challenge goes live tomorrow... as does Chapter Three. Hope you have a chance to stop by.   :)

Have a great weekend and happy scrappin'!


Thursday, July 30, 2015

Still Inking Away

Hello, everyone!

Today was hubby's birthday! And, we had a wonderful day -- lunching with the dads, going out for ice cream this evening.  :)

So, I haven't had a chance to check out any of the Day 4 Online Card Class videos. But, I did have a chance to ink up another background. Then, I made cards with a couple of OCC backgrounds, including the background from day.

Card 1: Sparkle!

The card below was my only successful smooshing. The tenth times the charm, right?! But, boy oh boy, it was worth it because it really does sparkle. Since the panel was smaller than the ones made by Kristina, I matted it like an abstract painting, added a simple sentiment, and called it a day.  :)


Canson watercolor; Bazzil black
Distress Inks: mustard seed; peacock feathers, fired brick (or pickled raspberry)
Stampin' Up! good greetings sentiment, heat embossed in DI black soot
SU brads; adhesives: Scotch ATG; Recollections foam squares
My Favorite Things shimmer mist
 
Card 2: happy...


This card features the background I made today. To finish it off, I used Jennifer's inlaid strips technique -- resisting any of the shortcuts.  I initially forgot to heat emboss "birthday to you" and the sentiment really did seem to get lost. When I saw the difference the heat embossing made, I went with a two-ply "thanks" and applied some Glossy Accents for a little extra oomph.  :)

Canson watercolor; Bazzil black; Cardstock Warehouse white
Distress Inks: fired brick and mustard seed
Winnie & Walter cutaway, enhanced with Glossy Accents
Winnie & Walter sentiment, heat embossed in DI black soot
adhesives: Scotch ATG; Ranger multi medium

Parting Thoughts

A new Words 2 Scrap By challenge goes live on Saturday. Hope you all will check it out.

Did you hear there's an online OWH party on Saturday? It's scheduled for 12:30 Pacific Time.

Finally, tomorrow's post will be my last one at this blog. You can find me at Chapter Three starting on August 1.

Think that's it. Thanks for stopping and happy scrappin'!

Wednesday, July 29, 2015

Online Card Class - Day 3

Hi, everyone! Still having fun in the Online Card Class. Today we took a break from making backgrounds to make cards from the backgrounds already made. 

I have two cards to share.   :)


For the first card, I used tips shared by Kristina to make a shape card, topped with a pretty bow.

Distress Ink scattered straw and pine needles; stash pink
Winnie & Walter big, bold sentiment in various Distress Inks
Hero Arts background cling stamp in scattered straw
Stampin' Up! bow punch; Spellbinders Nestabilities scallop dies
adhesives: Scotch ATG; Glue Dots

For my second card, I incorporated tips shared by Jennifer. Since my cards are now going to hospitalized kids, the menopause room is getting a little glittery! And, this glittery card is going to be linked up to the current Shopping Our Stash bling challenge.   :)

Canson watercolor; Distress Ink scattered straw and pine needles; stash pink
Our Daily Bread Design background stamp, heat embossed with clear Zing powder
inking in DI pickled raspberry
Winnie & Walter cutaway from Recollections glitter paper
Winnie & Walter sentiment in StazOn jet black on acetate
Stampin' Up! small flower punch; EK hole punch
adhesives: Scotch ATG; Glue Dots; Ranger matte multi medium

So, what fun things will we learn tomorrow in class?! Until then, thanks for stopping and happy scrappin'!

Playing with Inks

Hi, everyone! Spent the night getting inky trying out the techniques shared during Day 2 of the Background Online Card Class.

Left Card: pigment ink on top of dye ink
Middle Card: stamping on top of stamping
Right Card: resist on pattern paper
first attempt at plaid

Lessons Learned:
  • Jennifer, Kristina, and Laura are unbelievably talented. They just make it all look so easy and effortless!
  • In spite of the stash I have, I never seem to have just the right stuff to achieve the look I want from these techniques, like those stamps used by Laura to create her plaids and the pigment ink used by Kristina. Hmmm...
  • Need to go to Pinterest and search out nice color combos for plaids.
  • Can't wait for Day 3!

Speaking of stash, there's a new bling challenge going on at Shopping our Stash. Here's my card.

Canson watercolor; Distress Ink ble
Hero Arts image, heat embossed in Distress Ink with Zing powder
Stamper's Anonymous stencil inked in DI spiced marmalade and mustard seed with Ranger blending tool
Creative Memories oval cutting system; stash sequins
Love the cheeriness of this little card. Think this one is going in my SAS4Kids box.  :)

Have a great day! Thanks for stopping and happy scrappin'! 

Monday, July 27, 2015

Online Card Class: Day 1, Card 2

Hi, everyone! The first day in the newest Online Card Class was so amazing, I just had to try my hand at another card.

For this card, I went with blending -- and water spatters. And, I have to say, I'm much happier with the way this card turned out!

my blended background of DI mustard seed and salty ocean
Canson watercolor' Stampin' Up! black
Distress Inks: mustard seed, salty ocean, and black soot
Winnie & Walter big bold happy cutaways and sentiment
adhesives: Scotch ATG; Zig 2-way glue pen

I chose to ink the bottom third in yellow so that the birthday sentiment would pop. The "happy" cutaway is 2-ply to give it a little stronger presence.

Think this will be my nephew's birthday card. I purposely went with blue and yellow -- avoiding pinks and purples.

Can't wait to see what Day 3 holds. And, would still like to go back and try one or two other Day One techniques! Thanks so much Jennifer, Laura, and Kristina on a rockin' Day One!
 
Parting Thoughts

Two quick reminders:
  • Words 2 Scrap By! challenge ends tomorrow. There's a $20 gift certificate to Simon Says Stamp up for grabs. Hope you'll check it out!
  • As of August 1, I'll be blogging at Chapter Three. I'd love for you to visit me there.  :)

Online Card Class: Day 1, Card 1

Hi, everyone! This is the first day in the newest Online Card Class, and oh my gosh! Jennifer, Laura, and Kristina are just amazing!

For this first card, I tried Kristina's smoosh technique. I tried smooshing using acetate. Somehow, no matter how hard I tried, my results didn't look anything like Kristina's. But, I was bound determined to make my background work.

You'll have to let me know what you think...

my smooshing attempt

After smooshing, I added some spattering -- including some black spatters. Then, I mounted the background on some black cardstock and embellished.

Canson watercolor; Stampin' Up black; Distress Ink scattered straw
Distress Inks: pickled raspberry, peacock feathers, scattered straw, black soot
MFT stay tuned sentiment; Unity image
Creative Memories circle cutting system
SU brads; adhesives: Scotch ATG, Zig 2-way pen, Recollections foam squares
This card was based on OWH Sketch #259, the very last Operation Write Home Sketch. Think I'll link it up to the post even though I already sent in my last box of OWH cards.

So, what do you think about this background? This card? I'm a bit ambivalent about this card, but am super crazy about the card I'll share in my next post.  :)
 
Parting Thoughts

Two quick reminders:
  • Words 2 Scrap By! challenge ends tomorrow. There's a $20 gift certificate to Simon Says Stamp up for grabs. Hope you'll check it out!
  • As of August 1, I'll be blogging at Chapter Three. I'd love for you to visit me there.  :)

Saturday, May 30, 2015

A Masked OWH Sketch Card!

Hi, everyone! Last night, I challenged myself to try using Mask-erade Online Card Class techniques to create a card for OWH Sketch #255.

I thought this would be a good sketch to try out the layering and masking techniques since there were only three elements. Other than eliminating one or two background layers, I wanted to stay as close to the sketch as possible and make a flat card with lots of "layers" and interest.

Know what? And, I couldn't wait until Monday Musings to share the result with you! 


So, here are my steps, including supplies used.

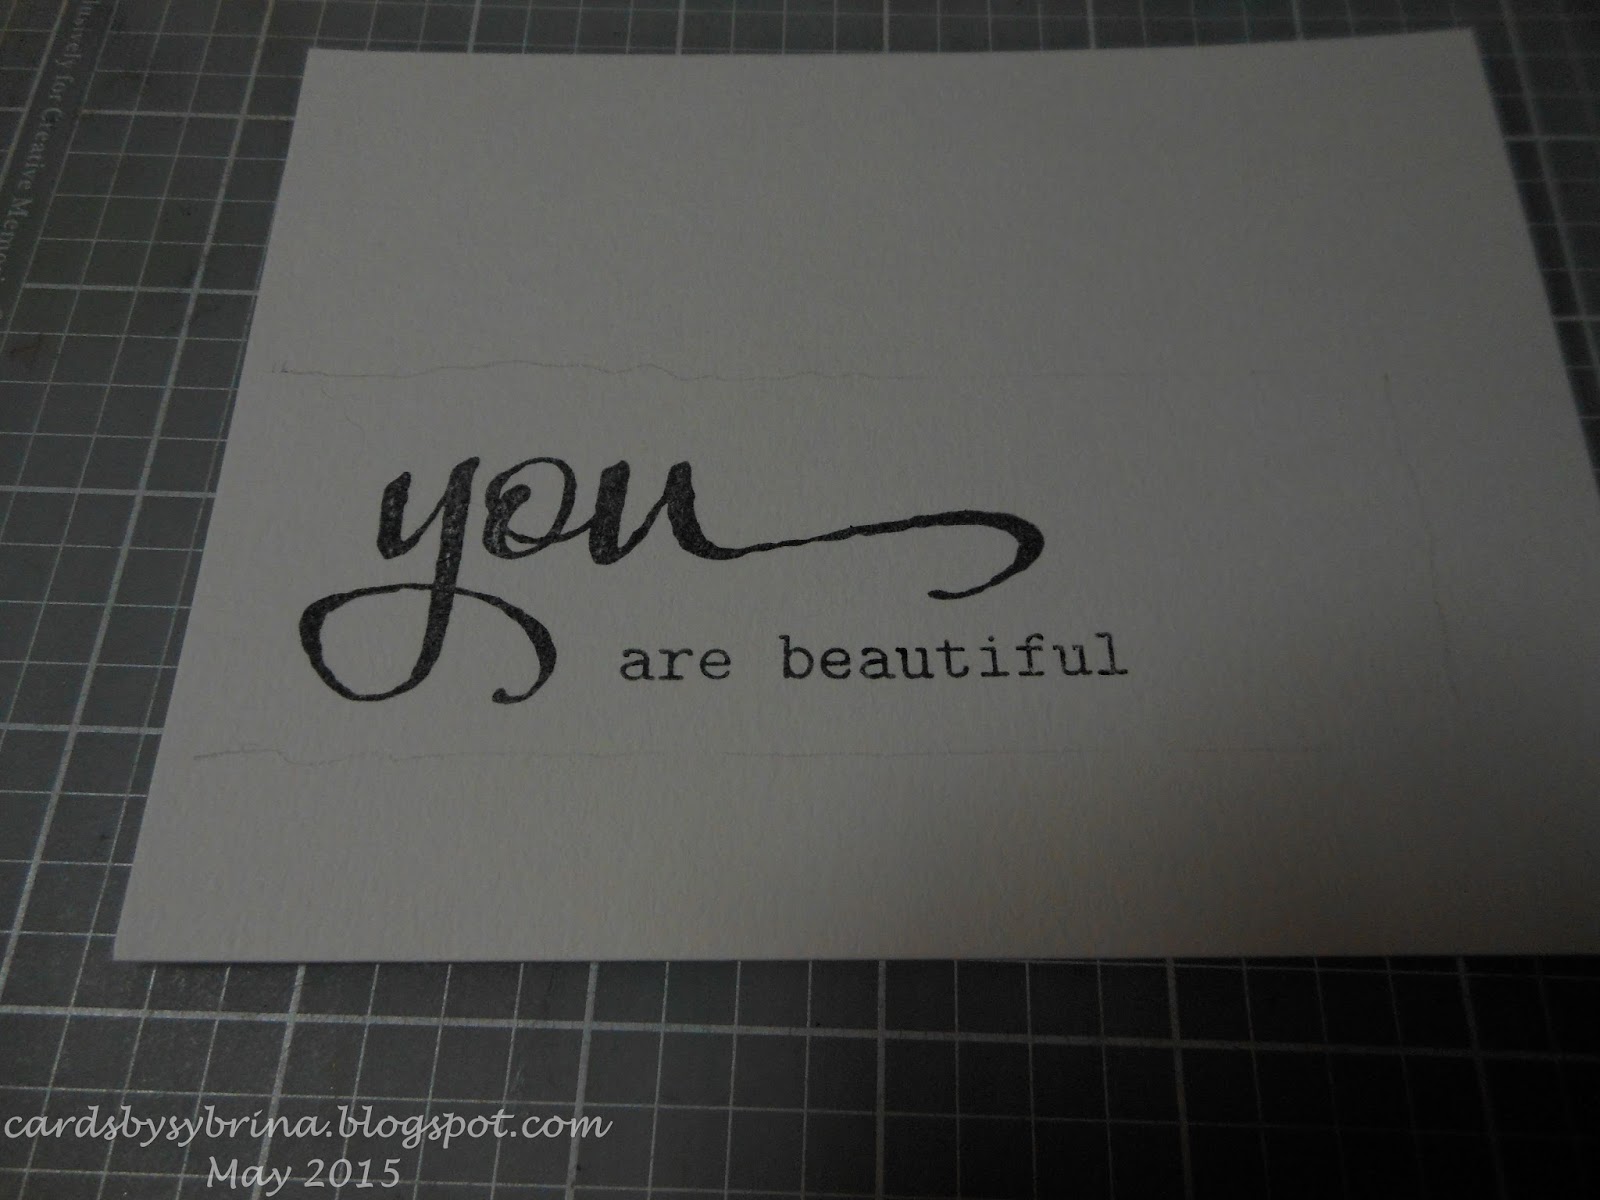
Step 1: I traced out the position for the oval and my sentiment panel on Canson watercolor paper.

Step 2: I used sticky notes as a visual for the sentiment's position.

Steps 3 and 4: I heat embossed the sentiment (TPC Studio?) in Distress Ink walnut stain.
Then, I used sticky notes to frame the area I wanted to ink with DI vintage photo.

Step 5: I masked the sentiment panel and punched out a star with a Paper Studio punch.
Then, I used sticky notes and removable tape to position the negative on my card.
The star image was inked in DI chipped sapphire using a Ranger blending tool.

Step 6: I layered the negative created by cutting out an oval using the Creative Memories cutting system.
Sticky notes were used to mask the sentiment and star, as well as provide a visual of the oval's edges.
Then, a Unity Stamp (ragged ol' flag) image was stamped in DI fired brick and chipped sapphire.

Step 7: All inked areas were masked to ink the card's edges and the oval's perimeter.
DI vintage photo and a Ranger blending tool were used.

Step 8: A stash corner rounder was used to create two stencils.
I used the stencils to ink stars in either corner applying DI chipped sapphire with the blending tool. 

Step 9: When elements were unmasked, I decided to add a little chipped sapphire to the sentiment.
So, I used sticky notes to mask off the area a second time.
So, what do you think? Other than wishing I'd placed the star closer to the sentiment, I'm pretty happy with the results. 

Parting Thoughts

Think I'll link this up to the Day 2 class gallery and to the current Simon Says Stamp Anything Goes challenge.

After that, it's back to the day's planned activities... Well, maybe not the housecleaning.  :)

Have a great weekend! Thanks for stopping and happy scrappin'!

Friday, May 29, 2015

FNW8: My Mask-erade Homework!

Hi, everyone! Welcome to another edition of Friday Night Writes.

It has been so much fun taking the current Online Card Class! This class is presenting various masking strategies and techniques. The only drawback... not being able to spend the entire day masking away. I do, however, have a few cards to share.

But, before getting to my cards, I want to thank all those OWH bloghoppers who visited here last weekend. The hop was a great way to kick off OWH's Finish Strong campaign (#finishstrong). OWH has come to mean a great amount to many of us over the years, and it was wonderful to reconnect with all my OWH buddies. And, congratulations to Lisa for commenting and winning the Unity gift certificate!

Now to those Mask-erade cards. As you'll see, I'm taking advantage of making a few OWH cards while perfecting practicing these techniques.  :)

Day 1 Mask-erade Homework

On Day 1, our fabulous instructors shared basic masking information and showed some introductory paper masking techniques. For the card below, I used die cuts to mask the star and hand cut a mask for the rays streaming from the star.

Canson watercolor; Distress Ink core paper
Stampin' Up! stars framelits
SU be the star sentiment stamped in DI chipped sapphire
star and rays inking in DI chipped sapphire, salty ocean, fired brick, and barn door
Paper Smooches stitched die; stash sequins
 
This second photo shows a scene in which masking is used to place objects in front of or behind other objects. I can't tell you how long it took me to get this image. Got the technique, just can't stamp worth a darn. (Sounds like another type of class should be in my future.) So, I thought I'd share this image before I messed it up with a less-than-stellar coloring effort. LOL!
 
Lawn Fawn life is good on Canson watercolor paper in StazOn jet black

Day 2 Mask-erade Homework

Additional paper masking information was shared ton Day 2. The card below illustrates masking an area for a sentiment. If you're stamp-challenged like me, I'd recommend stamping the sentiment first, then masking off the area, as shown below. This isn't what Kristina showed in her video, but I'm no Kristina!

Canson watercolor paper; SU black core paper
Winnie & Walter sentiment (big, bold, you and big, bold, friends) in StazOn jet black
Simon Says Stamp garden trellis stencil
DI picked raspberry and peacock feathers, applied with Ranger blending tool

Lesson Learned: Stamp First, Mask Second

Day 3 Mask-erade Homework

We moved on to liquid masking yesterday. I have to admit, rubber cement just didn't work for me. (And, it looked so easy in the videos, didn't it?!) Luckily, I found some re-positional labels that worked like clockwork and used them to mask off the stamped star image before applying a water-based stenciling technique. Doing a big happy dance here!!!  :)

Canson watercolor paper; DI chipped sapphire core paper
Unity Stamp ragged 'ol flag image, stamped in DI fired brick and chipped sapphire
Memory Box stencil, inked with DI salty ocean and misted with Ranger mini mister
sentiment: Stamper's Best masked-off word in DI chipped sapphire
stash garage sale brads

Parting Thoughts

Looking forward to watching Day 4 class videos. Who knew homework could be so much fun?! And, I think I'll link up one of these cards to the current Simon Says Stamp Anything Goes challenge.

Also working on some card kits for an upcoming library art project for the summer reading program. More on that next month.  :)

A new OWH sketch will be up on the Stars & Stripes blog tomorrow. New Cards in Envy and Words 2 Scrap By challenges go live on Monday. Hope you will find a little time to check these three challenges. Rumor has it that a Simon Says Stamp gift certificate is up for grabs at W2SB.

Have a great weekend. Thanks for visiting and happy scrappin'!